
Sorting Algorithms Visualized in Python
Last week there was a great sorting algorithm post by morolin, where they showed an animation of quite a few different sorting algorithms.
Morolin built their visualization in Golang. Today, we’ll try implementing our own version, using Python 3. We’ll end up with the following visualizations:
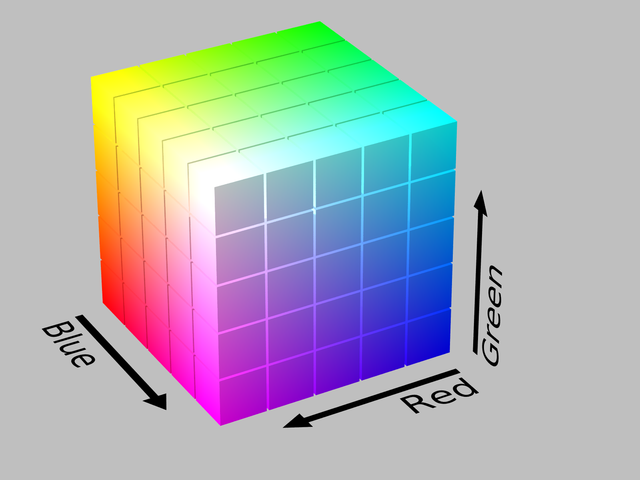
Along the way, we’ll learn about how colors work in computers, why the traditional RGB color isn’t really aesthetically sortable, (hint, it’s 3 dimensional), and how to track our sorts through time.
Why Random RGB Colors Aren’t Cleanly Sortable
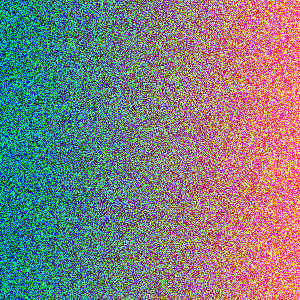
Before we jump in to code, it can help to first do a sanity check. We want to create a random set of colors, and then sort them in columns.
import numpy as np
from PIL import Image

import random

newImage = np.zeros((300,300,3), dtype="uint8")

for x in range(newImage.shape[0]):
    for y in range(newImage.shape[1]):
        newImage[x,y] = (random.randint(0,255), random.randint(0,255), random.randint(0,255))

# or, using np's random integers

newImage = np.random.randint(0, 255, (300, 300, 3))

testImage = Image.fromarray(newImage.astype("uint8"))
testImage.save('testing_random.png')
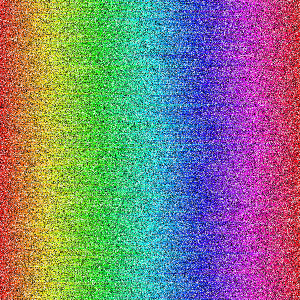
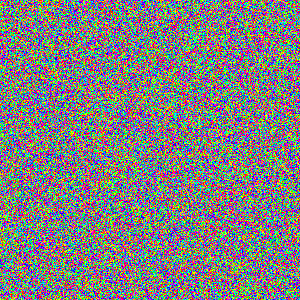
From this, we can get a feel for what a base, noisy image looks like:
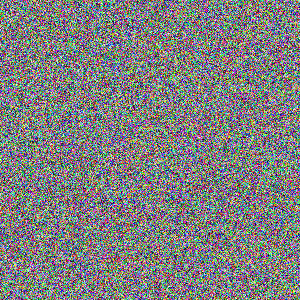
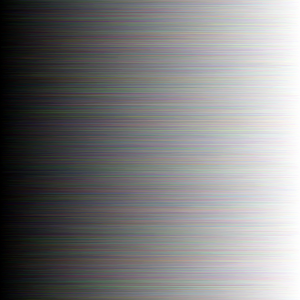
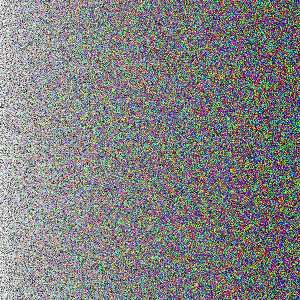
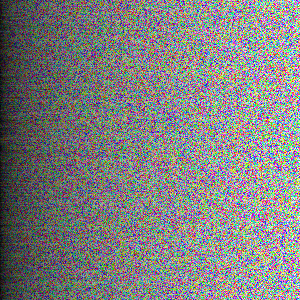
Sorting on this image, we can use the keys of the Red, Green, and Blue channels. But as we sort on each channel, we end up changing our image itself:
for i in range(newImage.shape[0]):
    newImage[i,:,0] = np.sort(newImage[i,:,0])

testImage = Image.fromarray(newImage.astype("uint8"))
testImage.save('testing_sorted_r.png')


for i in range(newImage.shape[0]):
    newImage[i,:,1] = np.sort(newImage[i,:,1])

testImage = Image.fromarray(newImage.astype("uint8"))
testImage.save('testing_sorted_g.png')

for i in range(newImage.shape[0]):
    newImage[i,:,2] = np.sort(newImage[i,:,2])

testImage = Image.fromarray(newImage.astype("uint8"))
testImage.save('testing_sorted_b.png')
Sorting in HSV Instead
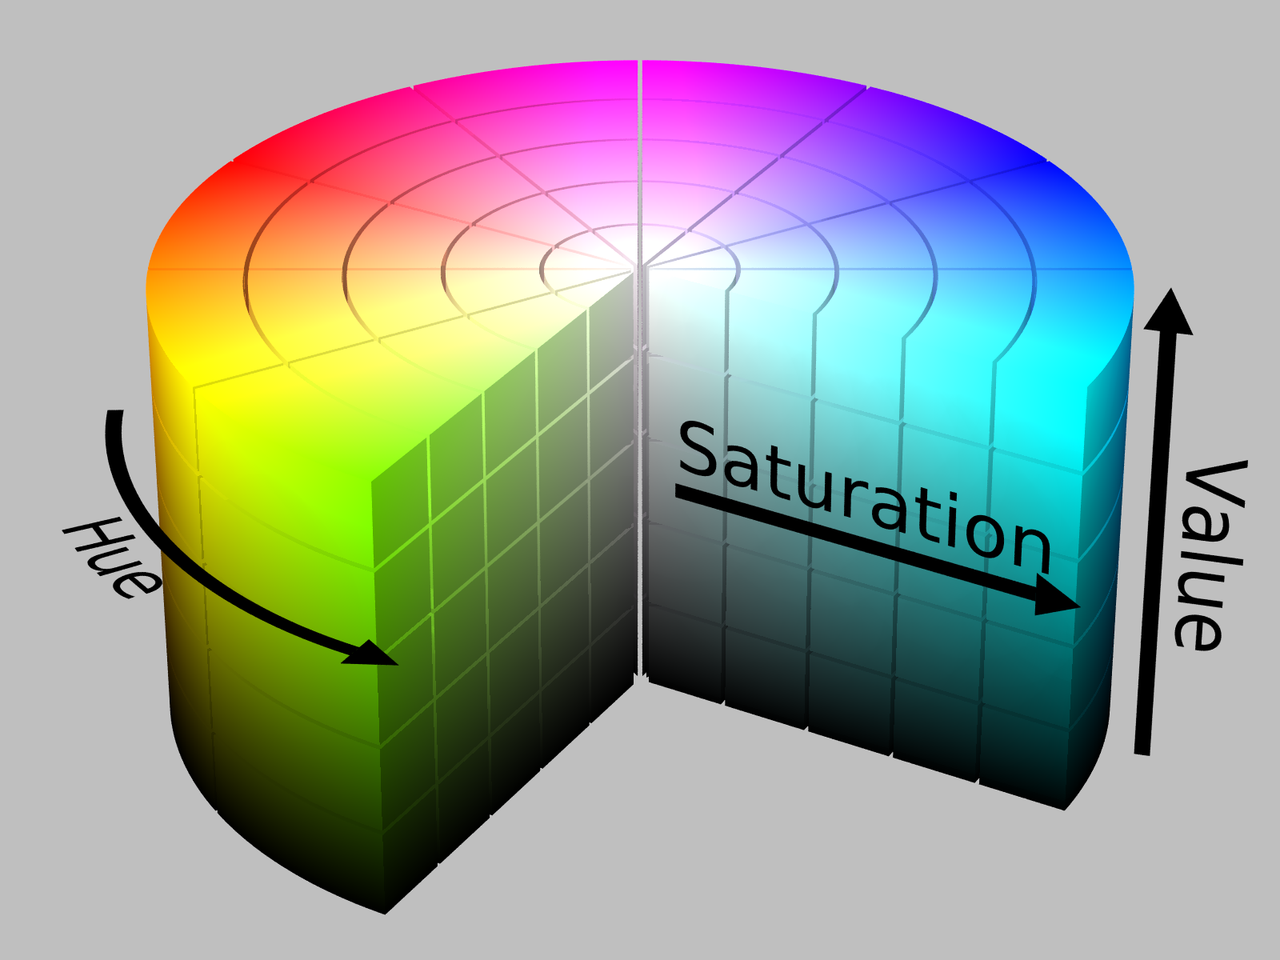
If instead, we convert our image to HSV, we have a value that almost makes sense to sort on.
That’s because the Hue in HSV forms a circle. This means we get a linear, aesthetically pleasing model to draw from if we sort linearly in the Hue dimension. We just follow along in Hue at a consistent Saturation and Value, and we end up with a rainbow.
Lets use scikit-image to convert our random image to HSV, and try sorting by Hue:
from skimage import color
from scipy.misc import imsave

import numpy as np

newImage = np.random.randint(0, 255, (300, 300, 3))

in_hsv_h = color.convert_colorspace(newImage, 'RGB', 'HSV')
in_hsv_s = in_hsv_h.copy()
in_hsv_v = in_hsv_h.copy()

for i in range(newImage.shape[0]):
    in_hsv_h[i,:,0] = np.sort(in_hsv_h[i,:,0])
    in_hsv_s[i,:,1] = np.sort(in_hsv_s[i,:,1])
    in_hsv_v[i,:,2] = np.sort(in_hsv_v[i,:,2])
imsave('testing-sorted-hue.png', color.convert_colorspace(in_hsv_h, 'HSV', 'RGB'))
imsave('testing-sorted-saturation.png', color.convert_colorspace(in_hsv_s, 'HSV', 'RGB'))
imsave('testing-sorted-value.png', color.convert_colorspace(in_hsv_v, 'HSV', 'RGB'))
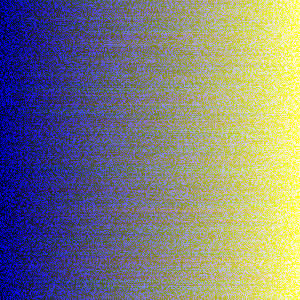
Looking at each of these sorts, we get:
Which makes Hue the closest thing we can get to a sortable color.
A Perfect Rainbow Using HSV and NumPy
In order to get our perfect rainbow, we’ll need to have a consistent Saturation and Hue for our Image we start with, and we’ll need to then shuffle it to be ready for sorting. This is easy enough:
from skimage import color
from scipy.misc import imsave

import numpy as np

img = np.zeros((300, 300, 3), dtype='float32') # hsv works in range from 0 - 1

for i in range(img.shape[1]):
    img[:,i,:] = i / img.shape[1], 1.0, 1.0

in_rgb = color.convert_colorspace(img, 'HSV', 'RGB')
imsave('initial_hsv_1.png', in_rgb)

for i in range(img.shape[0]):
    np.random.shuffle(img[i,:,:])

imsave('initial_hsv_1_shuffled.png', color.convert_colorspace(img, 'HSV', 'RGB'))

Heap, Quick, and Bubble
Heapsort, Quicksort, and Bubblesort all rely on a series of position swaps.
Because of this, we can create a list of each swap position, and accumulate the swaps that have occured over time. When we play back these position swaps, we’ll have a fully sorted list.
For the implementation of each of these sorting methods, I took Python 2.7 code from GeekViewPoint, and converted it to Python 3.
Once that was implemented, I added a list called swaps, and then appended the two positions swapped at each swap for each sorter.
Here’s an example of what that looks like, with bubblesort:
def bubblesort(A):
    # modified from http://www.geekviewpoint.com/python/sorting/bubblesort
    swaps = []
    for i in range(len(A)):
        for k in range(len(A) - 1, i, -1):
            if (A[k] < A[k - 1]):
                swaps.append([k, k - 1])
                tmp = A[k]
                A[k] = A[k - 1]
                A[k - 1] = tmp
    return A, swaps
Playing Back the Sorting
Swapping each row after accumulating a series of swaps is easy enough. We first create a swap_pixels function to swap our pixels in our NumPy array, and then we loop over each of the moves in each of the rows of pixels.
We can then save out an image for a “step”, or number of steps to the last move.
currentMove = 0

def swap_pixels(row, places):
    tmp = img[row,places[0],:].copy()
    img[row,places[0],:] = img[row,places[1],:]
    img[row,places[1],:] = tmp

# 24 fps, and we want a 5 second gif 24 * 5 = 120 total frames (* 24 5)
movie_image_step = maxMoves // 120
movie_image_frame = 0

while currentMove < maxMoves:
    for i in range(img.shape[0]):
        if currentMove < len(moves[i]) - 1:
            swap_pixels(i, moves[i][currentMove])

    if currentMove % movie_image_step == 0:
        imsave('%s/%05d.png' % (args.sorter, movie_image_frame), color.convert_colorspace(img, 'HSV', 'RGB'))
        movie_image_frame += 1
    currentMove += 1
With this, we have a way of generating an image sequence, ready for ffmpeg to turn into a movie or gif.
First we can create an MP4 compatible with iOS devices:
$ ffmpeg -i %05d.png -vcodec libx264 -crf 25 -pix_fmt yuv420p ready4gif.mp4
And from that MP4 we can create a gif:
$ ffmpeg -i ready4gif.mp4 -vf fps=10,scale=320:-1:flags=lanczos,palettegen palette.png

$ ffmpeg -i ready4gif.mp4 -i palette.png -filter_complex "fps=10,scale=500:-1:flags=lanczos[x];[x][1:v]paletteuse" output.gif
With this, we can now create a video using each of our sort methods.
Github Code
As usual, the code is available on Github.
Where to Go From Here
If you enjoyed this post, and would like to see more creative programming posts, I recommend subscribing to my newsletter. I’d also appreciate you sharing this post on your social media.
Finally, if you’re interested in learning software development, or you know somebody who is, I’ve written a book called Make Art with Python, and it will be available for purchase soon.
For now, you can sign up as a user on this site, and get access to the first three chapters, along with a video walk through for each chapter.
